Not sure what size to make? Grab your measuring tape and let’s take the guesswork out of your next crochet or knitting project! 🎯
Ready to make your own handmade wardrobe? Whether you’re casting on a cozy sweater or crocheting a colorful top, knowing your measurements is the secret to making a garment that actually fits (and feels amazing to wear). 🥰
In this guide, we’ll show you how to measure yourself with a measuring tape, what those numbers mean when it comes to sizes, and how to choose the right size for your next knitting project or crochet project.
Why Measuring Yourself Matters
Here’s the thing: most patterns don’t know your body — but you do! That’s why it’s important to measure yourself before starting a garment. It’ll help you:
✅ Choose the right size
✅ Get the fit you want (whether that’s close-fitting, relaxed, or oversized)
✅ Avoid surprises when you try on your finished project (🫣)
Plus, once you know your measurements, you can use them over and over again for future projects.
How to Measure Yourself
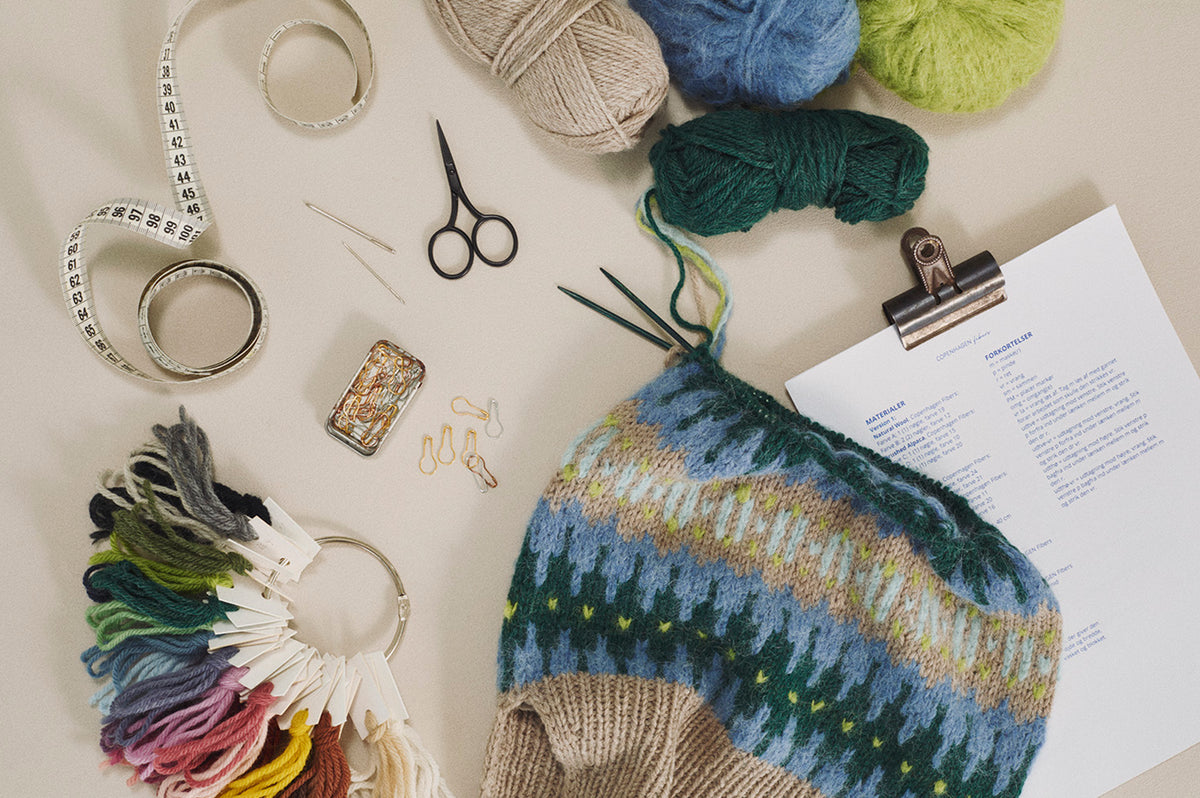
All you need is a measuring tape (the soft, flexible kind that’s also used for sewing). If you don’t have one, we highly recommend grabbing one — they’re a must-have for any yarn crafter!
Here are the most common measurements you’ll need for most knitting and crochet garment projects:
1. Bust / Chest Circumference
This is the most important measurement in most garment patterns — especially sweaters and cardigans.
📏 How to measure: Stand up straight and relax your shoulders. Wrap the measuring tape around the widest part of your bust or chest. Make sure the tape sits flat and snug but not tight — it shouldn’t dig in or hang loose. Keep the tape parallel to the floor.
Tip: Take a natural breath when measuring — don’t hold your breath or puff out your chest. You want the measurement to reflect your normal posture.
If a pattern only lists one circumference measurement, it will almost always refer to the bust/chest measurement. That’s why this one is key!

2. Waist Circumference
📏 How to measure: Find the narrowest part of your waist — usually just above your belly button. Stand comfortably and breathe normally. Wrap the measuring tape around your waist without pulling too tight.

3. Hip Circumference
📏 How to measure: Stand with your feet together and measure around the widest part of your hips (this is often around your seat or lower hip area). Keep the measuring tape level and relaxed.

4. Upper Arm Circumference
This measurement is handy for garments with fitted sleeves.
📏 How to measure: Wrap the tape around the widest part of your upper arm, usually a few centimeters below your shoulder. Keep your arm relaxed by your side while measuring.

5. Body Length
Some patterns will suggest a length for the body of the garment — but you can always adjust this to your liking.
📏 How to measure: Start at the top of your shoulder (next to the base of your neck) and measure down to where you want your sweater, top, or cardigan to end.

💡 Extra Measuring Tips
✨ It’s easiest to take your measurements while standing in front of a mirror — or better yet, ask a friend or family member to help!
✨ Always measure over the type of clothes you’ll likely wear underneath your finished garment (for example: a t-shirt or tank top).
✨ If you’re between sizes, take note of how much positive ease the pattern includes and decide whether you want a looser or more fitted look.
What Is Positive Ease and Negative Ease?
You might have seen the terms positive ease and negative ease in knitting or crochet patterns and wondered what it means.
Positive ease means the garment is designed to be bigger than your body measurements. This creates a comfy, relaxed fit. For example, if your bust circumference is 100 cm and the finished garment is 110 cm around, it has 10 cm of positive ease.
Some patterns (especially sweaters and cardigans) are designed with positive ease so they fit loosely. Others, like fitted tops, may have negative ease (designed to stretch and fit tightly).
Always check the pattern description to see how much positive or negative ease is built in — and decide how you want your garment to fit.
How to Choose the Right Size
Once you’ve got your measurements, it’s time to look at the pattern’s size chart. Here’s what to do:
- Compare your measurements to the size chart or description in the pattern.
- Look at the bust/chest measurement first — most patterns are based on that.
- Check the pattern’s recommended ease.
➡️ Want a slouchy sweater? Size up for extra ease.
➡️ Prefer a more fitted look? Stick closer to your actual measurements. - If you’re between sizes, think about how you want the garment to fit. More room? Go up. A bit snugger? Go down.
Remember: Sizes are just numbers. ❤️ It’s the fit that matters!
What’s Next? Make a Swatch!
Once you’ve chosen your size, there’s one more important step before you start your knitting or crochet project: check your gauge!
Your measurements + the right size mean nothing if your stitches don’t match the pattern’s gauge. That’s why we always recommend making a small gauge swatch first — it will save you time, yarn, and potential heartbreak. 💔
👉 Learn how to make a knitting swatch here: How to Measure Your Knitting Tension
👉 Learn how to make a crochet swatch here: How to Measure Your Crochet Tension
💡 Quick Measurement Checklist
Here’s a handy list to keep for your next garment project:
✅ Bust / chest circumference
✅ Waist circumference
✅ Hip circumference
✅ Upper arm circumference (optional)
✅ Body length (optional)
✅ Desired ease (check the pattern!)
You’re Ready to Make Garments That Fit!
Measuring yourself might not be the most exciting part of a knitting project or crochet project, but it’s one of the most important. Once you’ve got your numbers, you can confidently choose your size and cast on knowing your handmade piece will fit your body.
Happy Measuring and Happy Making! 🧶✨


