Learn how to create adorable pompoms effortlessly with our step-by-step guide to using the Hoop Pompom Maker. Say goodbye to tedious hand-winding and hello to fluffy, fun-filled crafting adventures!
Are you ready to add a touch of whimsy to your knitting or crochet projects? Pompoms are the perfect way to add a pop of color and fun to any project.
And the best part? They're incredibly easy to make! In this tutorial, we'll show you how to make fluffy pompoms using yarn and our handy Hoop Pompom Maker. Let's get started on this little DIY project!
What You'll Need
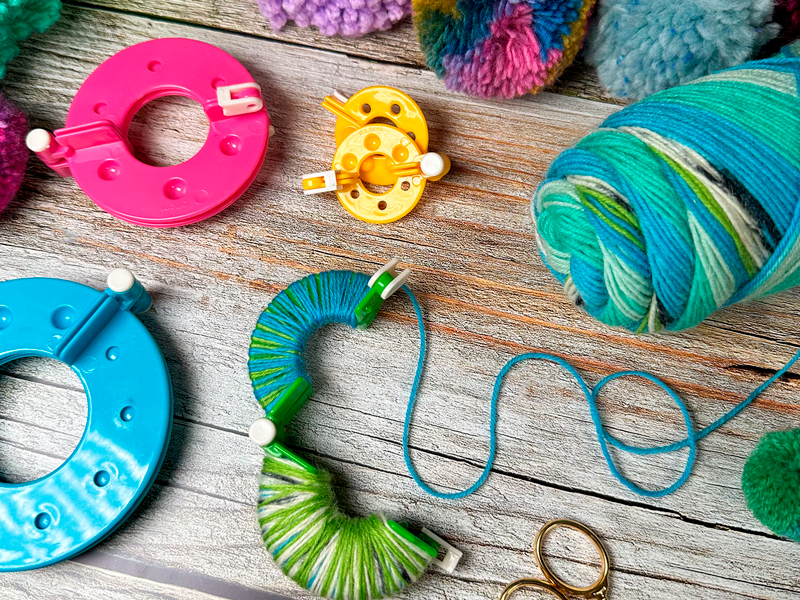
You really only need a few supplies to get started on crafting your own pompoms.
- Yarn in your favorite colors
- Hoop Pompom Maker
- Scissors (for example this one?)
Step 1: Prepare Your Materials
Gather your yarn and choose the colors you want for your pompoms. The Hoop Pompom Maker comes in four different sizes for smaller or bigger pompoms, so select the one that suits your project best.
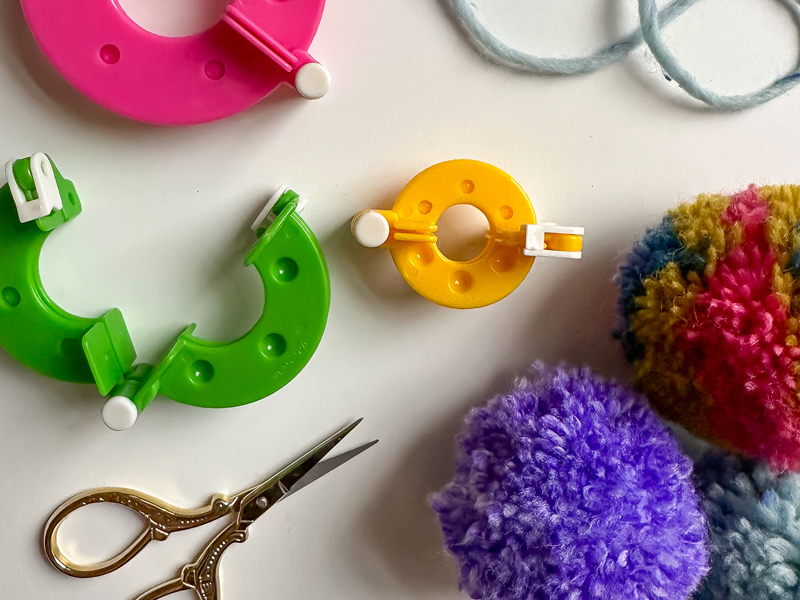
Step 2: Open the Hoop Pompom Maker
Begin by selecting two rings of the same color. Loosen the clasps if necessary. Position these rings one over the other, ensuring they interlock properly. This is achieved when the clasps of each ring are aligned, allowing the raised dots on one ring to seamlessly fit into the corresponding holes of the other.
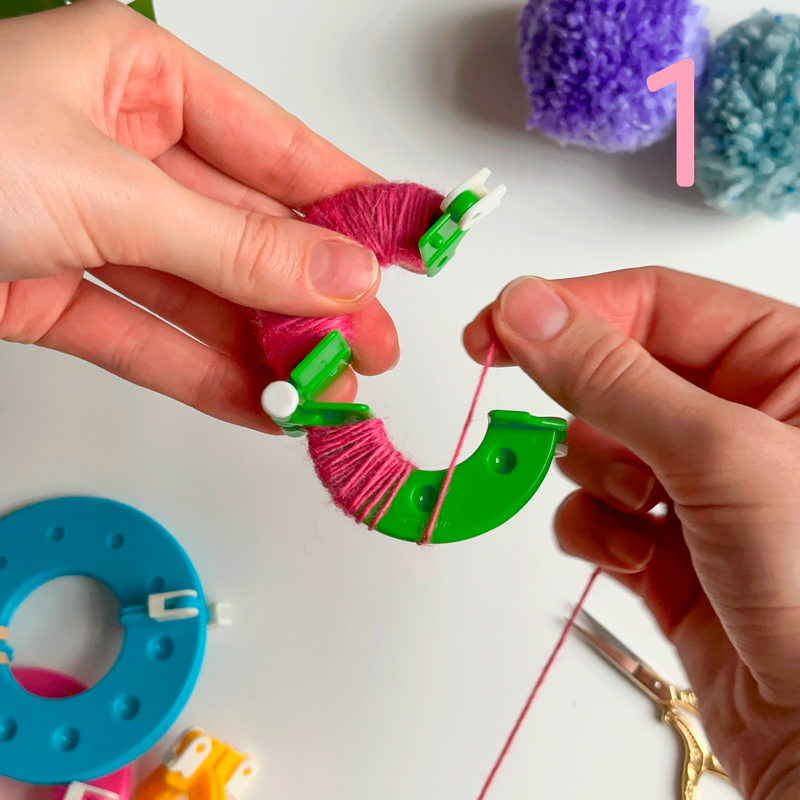
Step 3: Wrap the Yarn
Start wrapping yarn around the two halves of the Hoop Pompom Maker, one at a time. Don’t wrap the yarn too tightly. The more yarn you wrap, the fuller your pom pom will be. Feel free to mix and match colors for a vibrant and multicolored look!
Step 4: Close the Hoop Pompom Maker
Once you're satisfied with the amount of yarn, close the Hoop Pompom Maker by bringing the two halves together and secure the clasps. Make sure the yarn is securely held in place.

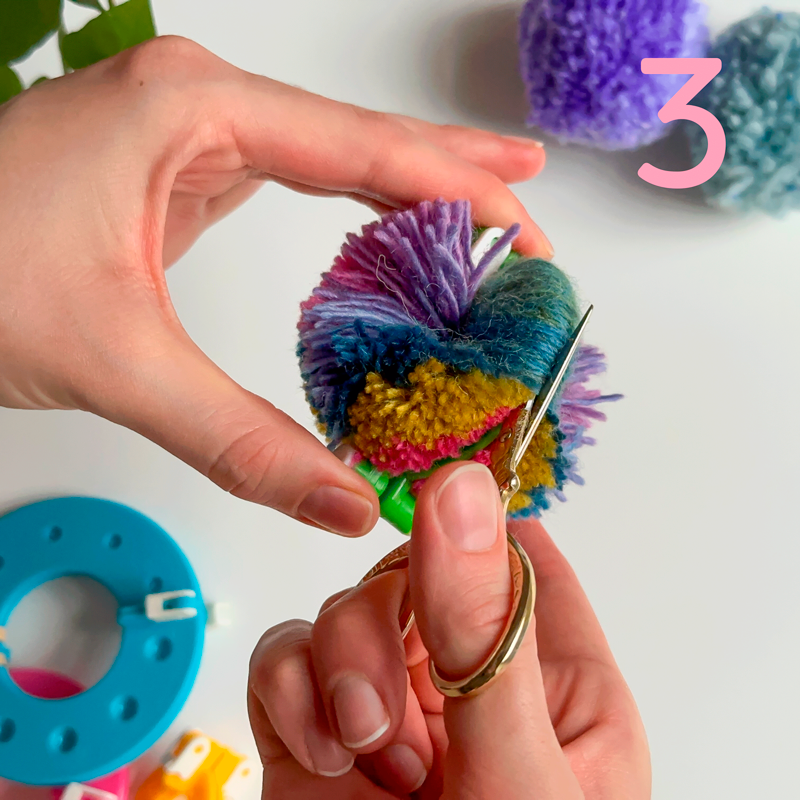
Step 5: Cut the Yarn
Using a pair of sharp scissors, cut around the outside gap of the Hoop Pompom Maker. Be sure to cut through all the layers of yarn.
Step 6: Tie a Knot
Take a separate piece of yarn and insert it between the two halves of the Hoop Pompom Maker. Tie a tight knot to secure the pom pom.
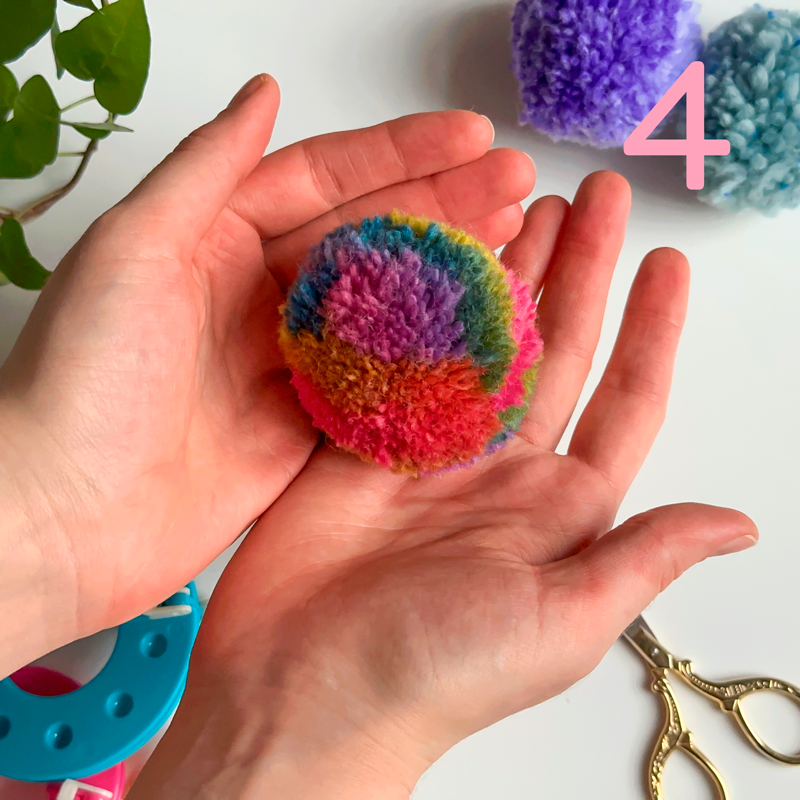
Step 7: Release the Pom Pom
Gently pull apart the two halves of the Hoop Pompom Maker to release your pom pom. Give it a little shake to fluff it up and shape it.
Step 8: Trim and Shape
Using your scissors, trim any uneven or excess yarn to give your pompom a neat and uniform shape. Don't be afraid to get creative with different shapes and sizes!
Step 9: Attach Your Pom Pom
Now that your pompom is ready, you can attach it to your knitting or crochet project. Simply sew or tie it onto your desired item and enjoy the playful touch it adds!
And there you have it - a simple and fun way to make pompoms with yarn! With the Hoop Pompom Maker, you can create endless pompoms from scrap yarn. Get your Hoop Pompom Maker Set here.
The handmade pompoms will add a decorative and cute final touch to any project. Try making pompoms for your crocheted and knitted pillows, scarves, homey decorations, and blankets. Get creative, and let your imagination run wild with colorful pompoms!
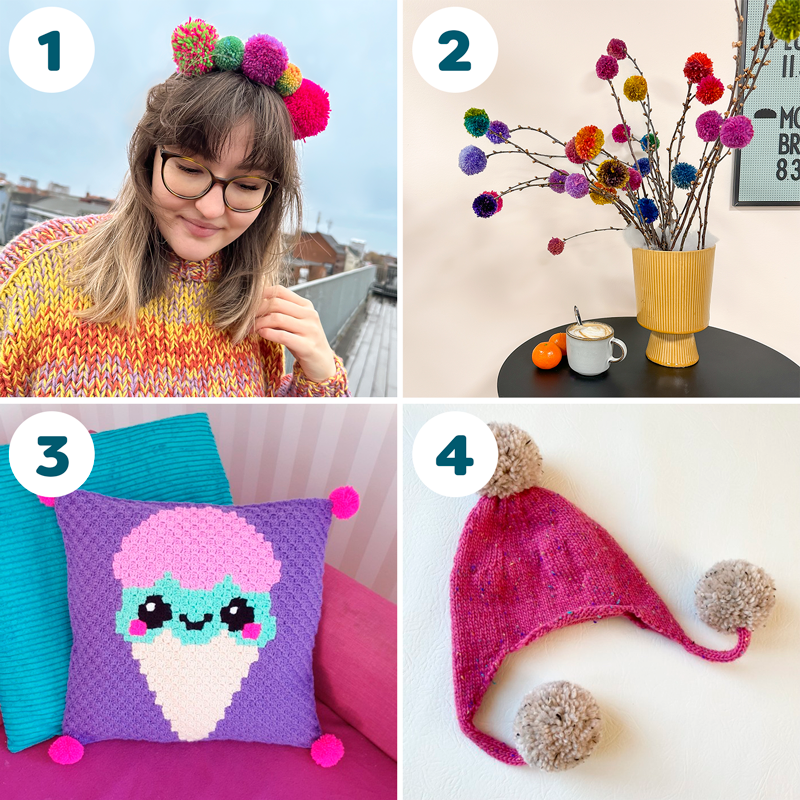
1. Make a DIY headband with pompoms for a colorful outfit! 2. Decorate your home with colorful pompoms. 3. This Kawaii Ice Cream Pillow with pompoms is just SO adorable! 4. Spoil a dear little one with this Triple Pompom - Kids Hat.