


PLEASE NOTE! This product is being discontinued and we are clearing out the stock. Get yours before it's too late!
Blocking gives your knitting and crochet projects a nice finishing touch. By blocking your finished project while it dries, you can ensure that it doesn’t lose its shape. This technique is especially recommended for projects knit with a hollow pattern like shawls, since it helps open up the pattern and enhance the beautiful structure.
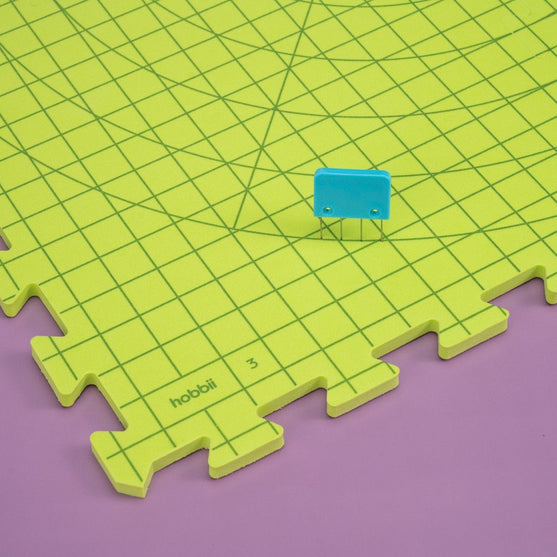
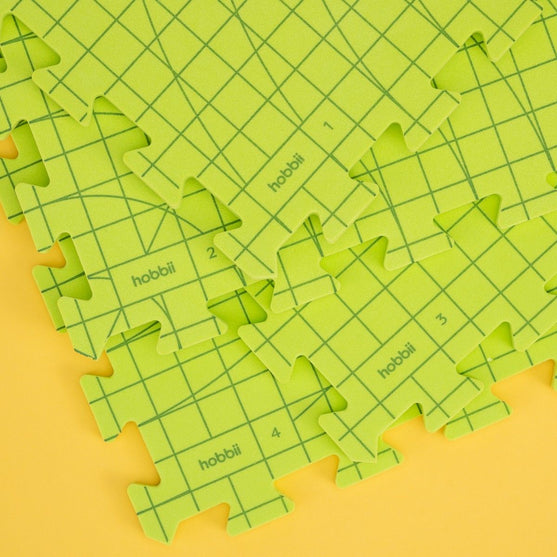
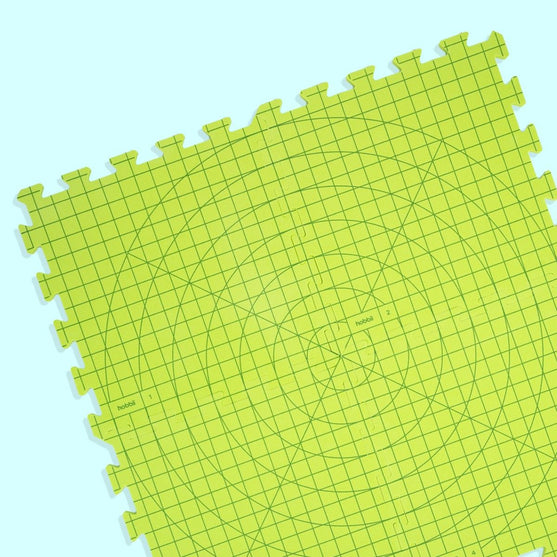
The set includes 4 mats, each measuring 32 cm (12.6 in). The mats fit together like puzzle pieces, letting you create any shape or size you need to block your project. The surface of the mats is smooth, and they are nice and dense, ensuring a firm fit when using T-pins to block a project. The mats have helpful lines and a grid to maximize accuracy – e.g. if you want to ensure that your granny squares are all the same size. A printed circle will also appear if you gather the mats into a square. To make the circle appear, start with mat no. 1 in the upper left corner and end with mat no. 4.
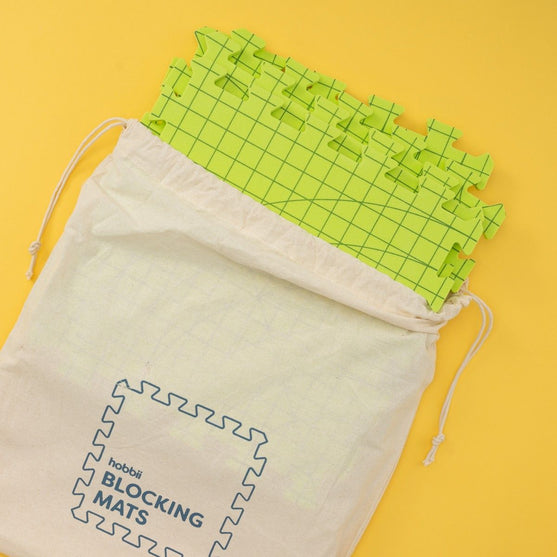
The blocking mats come in a cotton bag for easy transportation and storage.
Use:
Put the mats together in the shape needed to fit your project.
Shape your damp, not wet, project on the mats into the desired shape.
Use T-pins (not included) to keep the stretched shape.
When your project is dry, remove it from the mats, and it’s ready to use.
Find a link for the T-pins above this text.
Free shipping from 49 €