News
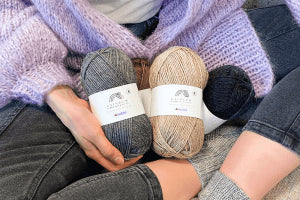
Stay Warm With Wool: Knit Socks For the Whole Family
It seems that we’ll have to get used to cold floors and chilly temperatures indoors these coming fall and winter seasons. Which makes this the perfect time to start knitting woolly socks for the whole family.
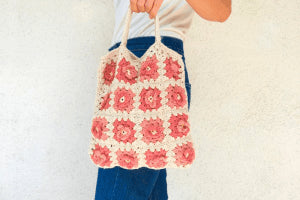
Granny Squares: Find Inspiration for Your Next Project
The interest in granny squares has truly resurfaced. In this blog post, you will find inspiration for your next project with these fun squares that you can combine in countless ways. And you can even learn how to knit four different types of Granny Squares.
Tags